Mounting Surface Prep Test: 12 Cleaning Methods Compared for Suction Hold, Adhesive Grip, and 14-Day Stability
Keywords: mounting surface prep test car phone holder, best cleaning method for suction cup mount, adhesive phone mount prep guide, dashboard degreasing for phone holder, car mount 14 day stability prep, suction mount residue removal test
I thought this would be boring cleaning advice. It turned out to explain why good mounts fail in real cars.
Most mount complaints are not about weak magnets or bad clamp design. They are prep failures: dusty trim, oily dash coatings, rushed installs, or skipping cure time.
So I tested 12 prep methods on real interior surfaces with the same mount styles, then tracked hold quality for 14 days in normal commuting.
How this prep test was run
I used repeated city traffic, mixed suburban roads, and highway segments. Each setup saw morning drives plus heat-soaked restarts after parked-car sun exposure.
I scored four outcomes per method: first-stick success, drift/peel behavior, residue risk on removal, and re-seat reliability after cleaning.
I also compared results across smooth glass, lightly textured dash plastic, and soft-touch trim zones, because surface type changed outcomes more than brand claims.
What worked best immediately

Useful suction-vacuum reference for prep sensitivity and re-seat behavior.
Check Price on AmazonThe most reliable methods were simple and repeatable: microfiber dry wipe, light isopropyl wipe, full dry-down, then mount pressure with no immediate re-positioning.
Methods that looked good for one hour but failed by day two usually had one common mistake: surface dressing or moisture left behind before install.
The key lesson: prep method quality mattered more than mount price in the first 48 hours.
What failed in heat
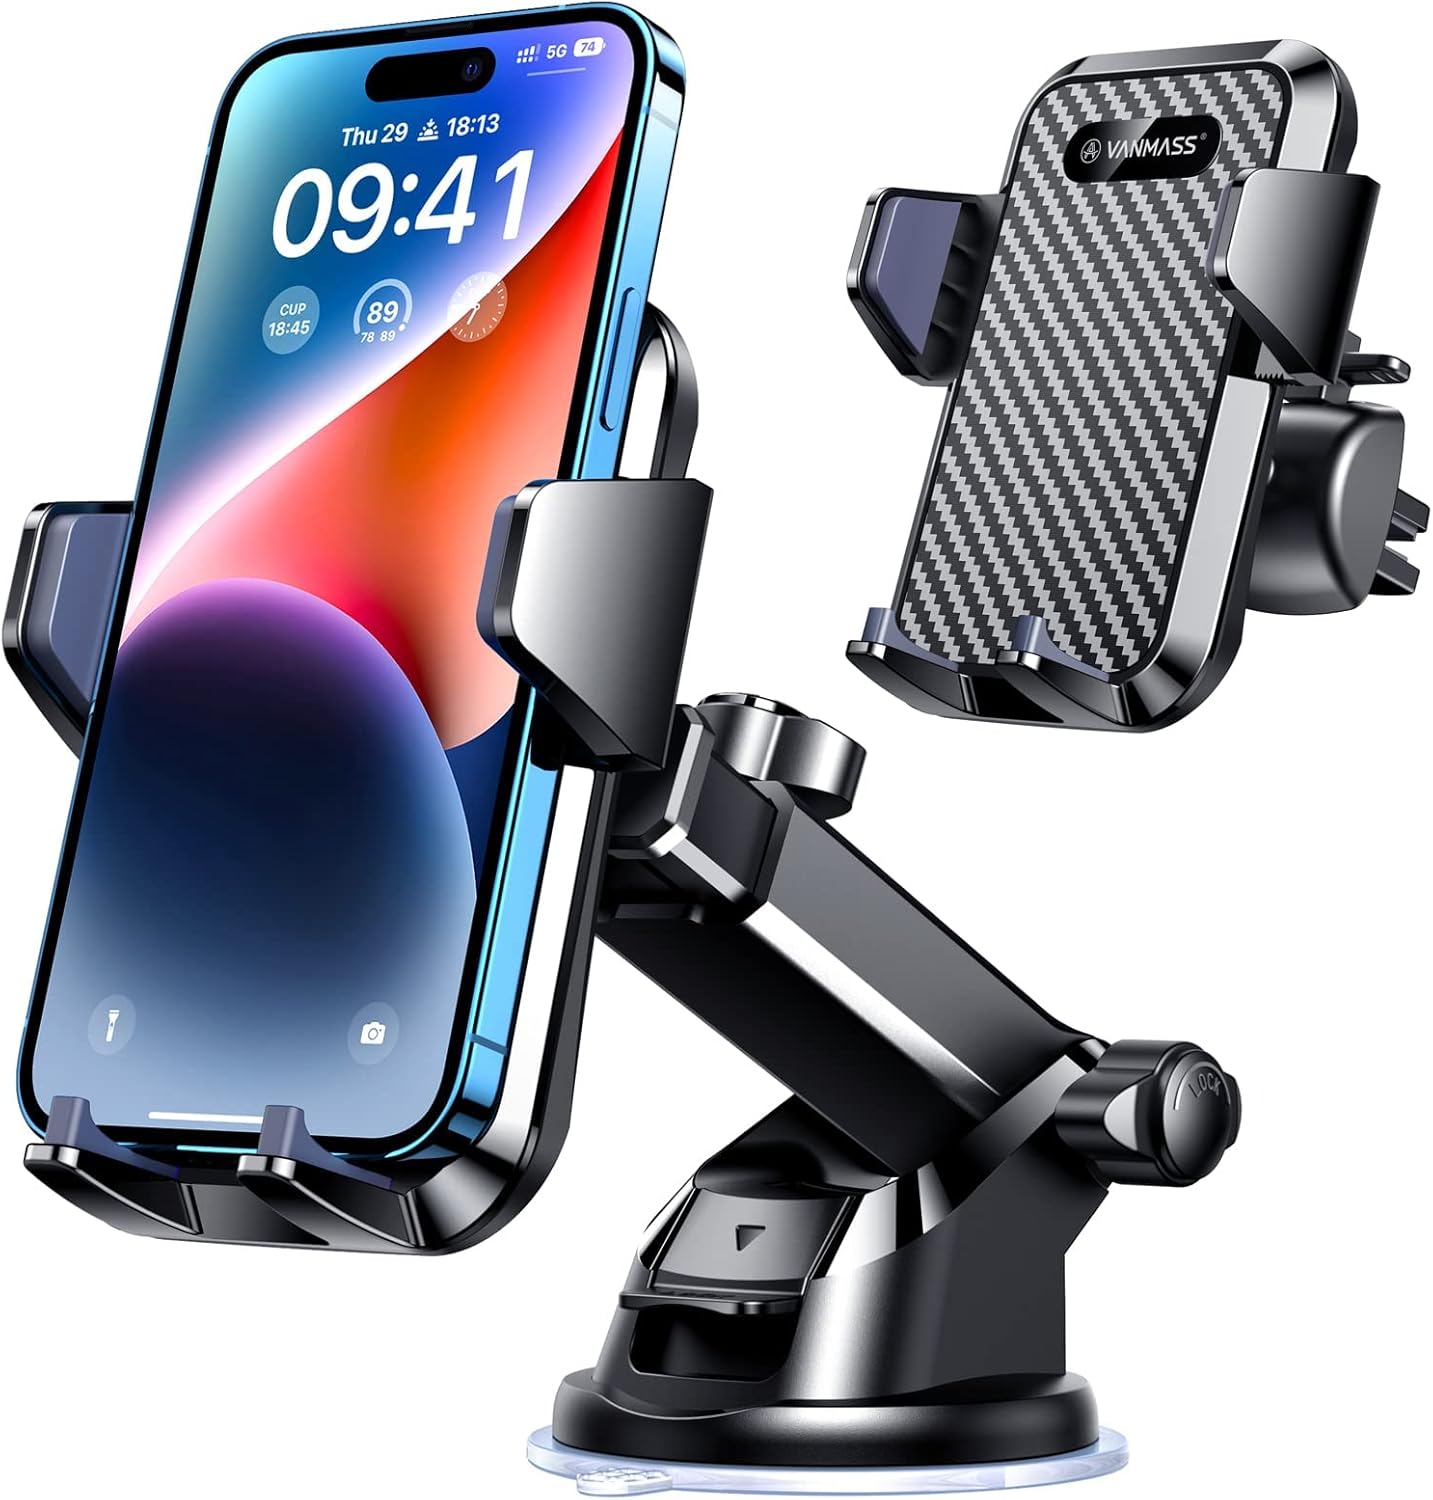
Good baseline for controlled prep and first-lock repeatability.
Check Price on AmazonSome methods passed cool morning tests and then degraded after heat cycles. The mount still looked attached, but angle creep and micro-shift started showing up by afternoon runs.
That pattern was strongest on dashboards with protectant residue. Heat softened the interface and reduced confidence even without a full detach event.
If you want the summer durability context behind this, pair with Adhesive Dashboard Mount vs Suction Mount in Summer: 30-Day Peel, Slip, and Reposition Test.
Suction vs adhesive prep differences

Practical test anchor for multi-surface prep outcomes.
Check Price on AmazonSuction prep rewards cleanliness and flatness. Adhesive prep rewards cleanliness plus patience. The most common adhesive failure was loading the phone too soon after stick-down.
For mount-style choice before prep decisions, use Suction Cup vs Vent Mount: When Which Is Better?.
Residue and removal reality
Aggressive removal caused more cosmetic damage than aggressive mounting. Slow peel with mild warmth consistently reduced residue compared with cold pull-offs.
Hybrid setup reference when prep quality varies across dash, glass, and vent fallback.
Check Price on AmazonVent-first users avoided dashboard risk entirely, but only when vent geometry was compatible. Otherwise, bad vent fit created its own stability issues.
What this means for daily reliability
A good prep method should make the mount boring: same angle after bumps, no midweek re-tightening, and no mental load every time you dock.
If your setup keeps asking for tiny corrections, assume prep or surface mismatch before blaming the mount hardware.
Practical 60-second prep checklist
1) Dry microfiber wipe. 2) Light alcohol wipe. 3) Full air-dry. 4) Place once, press evenly. 5) Respect cure time before loading.
That sequence outperformed more complicated routines because it was easy to repeat correctly.
For clean-install technique details, see How to Install a Phone Holder Without Damaging Your Car Dash.
For shortlist decisions after prep testing, see The Best Car Phone Mounts for 2026.
Construction season dusty-dash field log: Construction Season Field Test: Dusty Dash Prep, Suction Honesty, and Road-Work Weeks (14 Days I Actually Drove).
Final takeaway
Mount stability starts before the first drive. When prep matches surface type and cure timing, even mid-priced mounts stay predictable. Skip prep, and premium hardware turns into daily friction.
After a tunnel wash, suction and adhesive edges often fail for boring film reasons, not mystery defects. Field notes: Touch Car Wash Survival Test: When Your Phone Mount Is in the Brush Zone (Suction, Vent Hook, and Adhesive).
Frequent remove-and-return punishes dusty seals. Urban habit test: Street-Parking Phone Mount Habit Test: 14 Days of Quick-Remove Routines (Theft Anxiety vs Daily Friction).
Screen-heavy EV dash and windshield placement diary (Model 3 / Model Y class): Model 3 and Model Y Phone Mount Field Test: 21 Days on Soft Dash, Long Glass, and Heat-Soak Re-seat Reality.
Winter wet-cabin suction and adhesive re-seat diary: Winter Wet-Cabin Week: Snow Melt, Humidity, and Suction Re-seat Honesty After Real Slush Days. Pollen Season Field Test: Yellow Windshield Film, Dash Wipes, and Whether My Mount Still Trusted Suction (11 Days I Actually Drove).
Beach week field log: Beach Week Field Test: Sand on My Hands, Hot Parked Suction, and Where I Actually Put My Phone (10 Days to the Shore).
Lake weekend field log: Lake Weekend Field Test: Gravel Lots, Bug Spray Film, and Whether My Vent Mount Survived Cabin Chaos (9 Days I Actually Drove).
Review articles
View all →
